
(**) Translated with www.DeepL.com/Translator
This procedure describes how to install OSSEC HIDS on a Raspberry PI3 or ROCK64 (pine64) in server/agent architecture, from OSSEC sources
For more information on this intrusion detector, please visithttps://www.ossec.net/index.html
Preconditions
To install OSSEC HIDS from the sources you will need to have some packages:
apt install unzip build-essential
The server must have an operational email service for the server/agents set
Installation
Retrieve the sources in zip format onhttps://github.com/ossec/ossec-hids/archive/master.zip[]
You want OSSEC (For server only) to store alerts in a Mysql database, install the “mysql-client (mariadb)” package:
apt install mariadb-client
unzip[Zip file]
cd ossec-hids-xxxxxxxx
To add Mysql support : Edit the install.sh file, go to line :
${MAKEBIN} PREFIX=${INSTALLDIR} TARGET=${INSTYPE} build
Replace it with:
${MAKEBIN} PREFIX=${INSTALLDIR} TARGET=${INSTYPE} DATABASE=mysql build
Save and then: run
./install.sh
Select the desired installation mode (see the website https://www.ossec.net/docs/
If you encounter any errors during compilation, (ELF etc…)
cd src
make clean
cd
./install.sh
Server mode
A single server for the server/agents set. During installation select the mode : **server. **
* activate email alerts,
* give the reception address,
* the SMTP server address,
* start the integrity check daemon,
* start the rootkit detection engine,
* start the active response,
* activate the firewall-drop response,
* add the ip addresses you want to the white list,
* enable syslog functionality (port udp 514),
* the installer indicates the list of monitored files and the method of adding:

If you want to monitor other files, change
the file ossec.conf by adding a new value
of local file name.

For all your questions about configuration,
visit our website http://www.ossec.net .
- Configuration correctly completed.
Firewall
Still on the server, open the UDP port 1514 (INPUT) on the network interfaces that communicate with the agents.
Add an agent
Agent’s declaration on the server
The agent will connect to the server to provide the information collected. Before installing the agent, you will need to declare it on the server using the command :
/var/ossec/bin/manage_agents
Type “a”, then the host name of the server with the OSSEC HIDS agent, the IP address of the agent, confirm the creation.
Extract the key from the agent created by typing “e”, specify the agent ID and copy the displayed key. You can leave now. Restart OSSEC HIDS :
service ossec restart
Agent installation
Connect to the server that will have the agent, and proceed with the installation by indicating the type “agent”:
- Enter the IP address of the OSSEC HIDS server,
- start the integrity check daemon,
- start the rootkit detection engine,
- start the active response.
Execute the command:
/var/ossec/bin/manage_agents
Type “i”, paste the previously copied key (without additional spaces or empty lines), validate, and start OSSEC HIDS by executing the command :
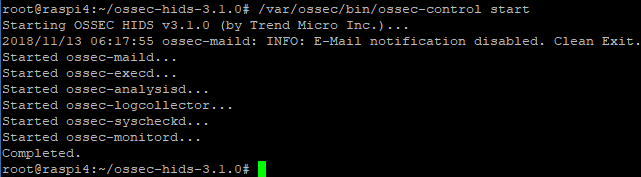
/var/ossec/bin/ossec-control start
If the display shows a similar error:
_2018/11/15 13:30:10 ossec-syscheckd(1210): ERROR: Tail /var/ossec/tail/tail/ossec/tail' not accessible:'Connection refused'._
**The key copied to the agent management level is incorrect.
Firewall
Allow exits to UDP port 1514 (OUTPUT) on agents.
Start-up
Execute the command:
/var/ossec/bin/ossec-control start
You can use the command
systemctl start ossec
**but we won’t see the start traces.
Stop
Execute the command
/var/ossec/bin/ossec-control stop
or
systemctl stop ossec
Restart OSSEC HIDS
systemctl restart ossec
or
/var/ossec/bin/ossec-control restart
Boot start at boot time
execute the command:
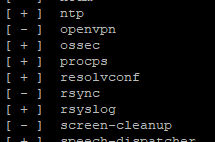
service --status-all
Check that “ossec” appears in the list of services started at the server boot.
In case this service is not registered at startup, type the command :
systemclt enable ossec
Tracks
Each server/agent has traces available in the file: /var/ossec/ossec/logs/ossec.log
Reinstallation
Before reinstalling OSSEC HIDS, although the installer offers it, you will need to delete the /var/ossec directory
Uninstall
service ossec stop
rm -f /etc/ossec-init.conf
rm -rf /var/ossec
ERRORS
ossec-remoted(1403): ERROR: Incorrectly formatted message from'172.28.0.4'.
**Import the agent key back to the server indicated by its IP address.
In the log:
tail -f /var/ossec/ossec/logs/ossec.log
I observe:
ossec-execd(1103): ERROR: Could not open file; /var/ossec/etc/shared/ar.conf' due to [(2)-(No such file or directory)].
Met on a single installation!!!!!
Create the file :
vi /var/ossec/etc/shared/ar.conf
then add this content to it:
restart-ossec0 - restart-ossec.sh - 0
restart-ossec0 - restart-ossec.cmd - 0
host-deny600 - host-deny.sh - 600
firewall-drop600 - firewall-drop.sh - 600
Conclusion
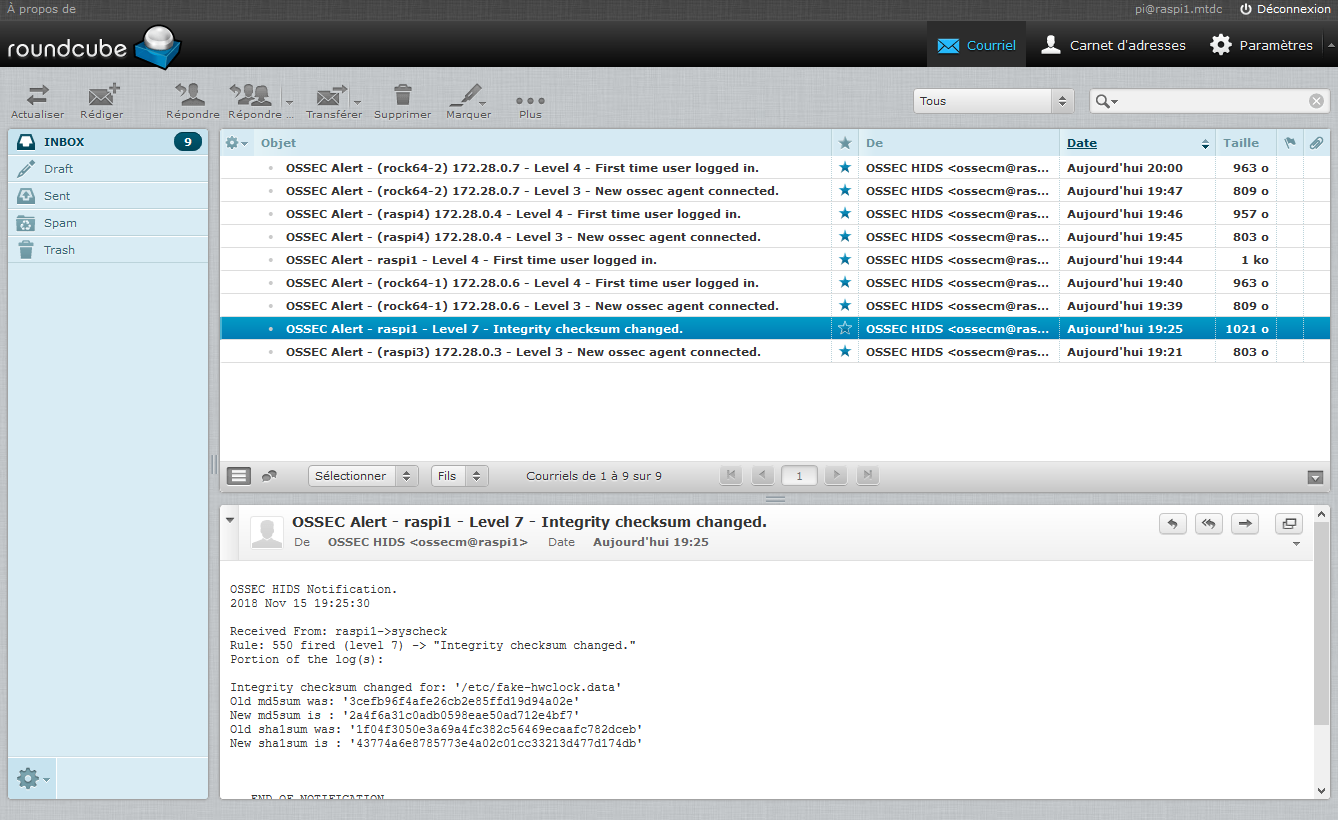
When everything is correctly set up and started, the email reception flow starts. You will be surprised to see the alerts detected by this type of technology: first login of a user, change in the system after an update, starting agents, etc… The active aspect? Try to connect by ssh to one of the servers by providing an incorrect password, from a machine that does not appear in the server’s white list, you will be blocked, quickly, for 10 minutes. This limits brute force access attempts.
Document licence : Creative Commons (CC BY-NC-ND 4.0)
THIS DOCUMENTATION IS PROVIDED "AS IS", WITHOUT WARRANTY OF ANY KIND AND DISTRIBUTED FOR EDUCATIONAL PURPOSES ONLY. THE AUTHOR, CONTRIBUTORS TO THIS DOCUMENTATION OR ©MYTINYDC.COM SHALL IN NO EVENT BE LIABLE FOR ANY DIRECT OR INDIRECT DAMAGE THAT MAY RESULT FROM THE APPLICATION OF THE PROCEDURES IMPLEMENTED IN THIS DOCUMENTATION, OR FROM THE INCORRECT INTERPRETATION OF THIS DOCUMENT.